|
|
Post by Atrophy on Jan 16, 2007 17:30:44 GMT -5
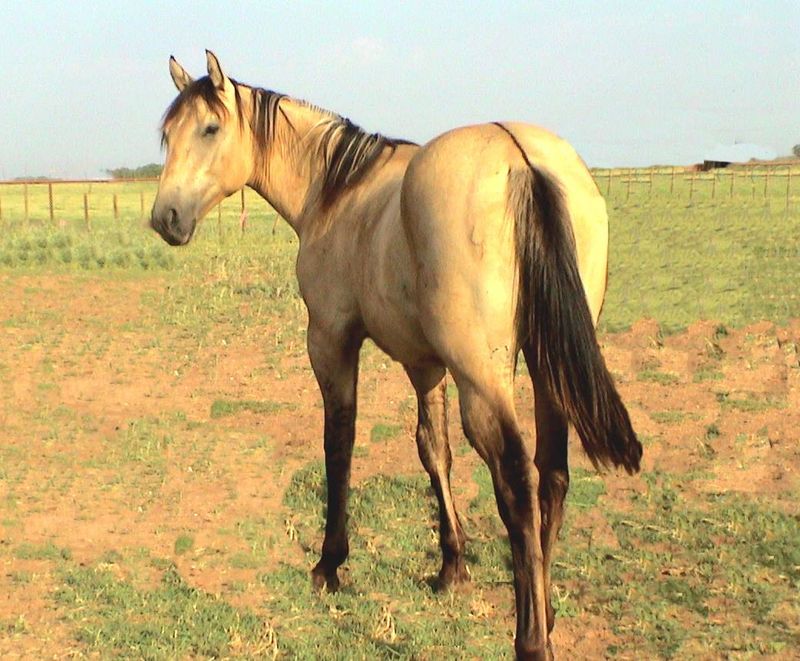
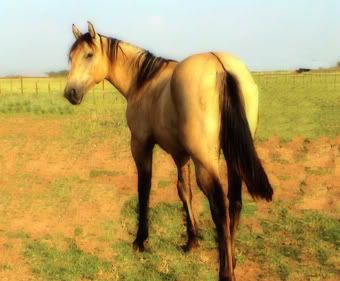
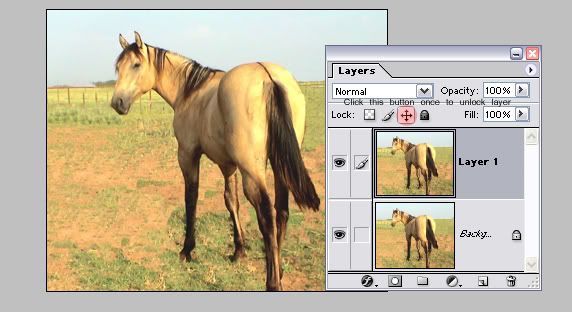
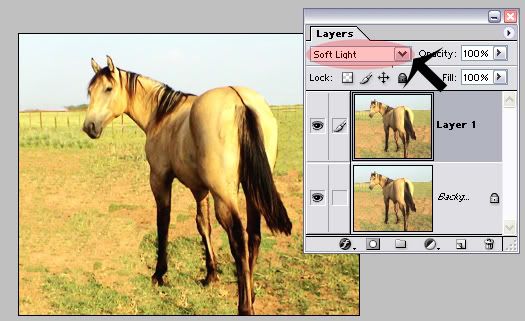
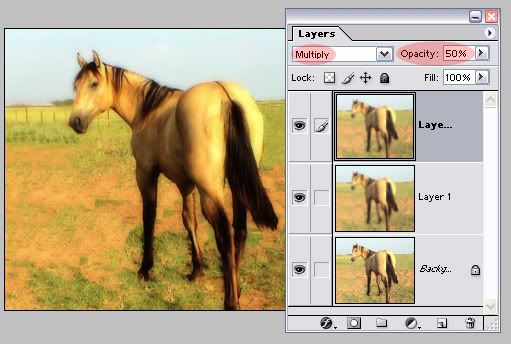
This Tutorial copyrighted to Atrophy (Morgan) 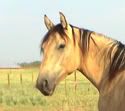 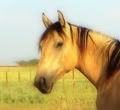 (Made in Adobe Photoshop 7.0) Click the images to get the full larger version. First, open up an image and make a copy of the background by pressing Ctrl + J. We're going to want this layer unlocked. 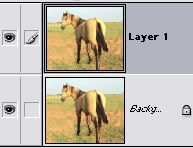 As soon as you unlock it, change the layer blend mode to 'Soft Light'. 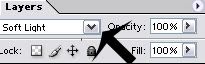 Now go to Filter>Blur>Gaussian Blur And set the radius to 3.3.  Duplicate the second layer by pushing Ctrl + J. On the third layer, change the layer blend to 'Darken', 'Multiply' or another one you like. In this one, I used Multiply. After you choose your blend, change the opacity to 50%. 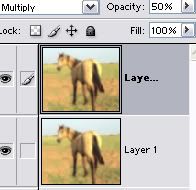 And you're done! If you dont like how it turned out, just mess around with the settings some. |
|
|
|
Post by tribe on Jan 16, 2007 19:42:26 GMT -5
nice  thanks Atrophy. This method of blurring and using blend modes can also be used on backgrounds to bring out the colors and make them more vibrant. make sure that you don't over-do the gaussian blur or your subject will become blurry. |
|